I know this post is a little late, but better late than never, as my Mom always told me!
A friend of mine needed an Easter basket for her daughter. She couldn't find a lined basket that she liked. So, she bought a nice white basket and some really pretty fabric to make a liner. Along with the basket and fabric, she also dropped off a onesie to be deisnged for Easter.
I had never made a basket lining before, so the first place I went was Google. I don't know how I ever lived without Google! You can find everything there! I found directions on how to make a basket lining for a round basket, took the measurements I needed and cut the fabric.
The first part was to sew the bottom circle to the side fabric. The side fabric had to be gathered some to fit the circle. The next to sew together was the flap. I measured twice and cut once for the front flap and back flap pieces.
The next to sew together was the flap. I measured twice and cut once for the front flap and back flap pieces. I pinned the flap pieces onto the lining just to be sure they were the right length.
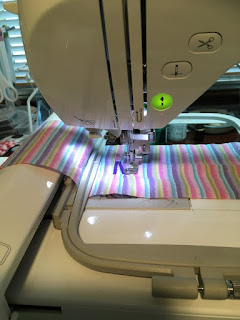
Next on the agenda was personalization. I put one of the flap pieces in my embroidery machine and added her name.
Then sewed the flap pieces to the basket lining and added some ribbon at the end of each flap so that it could be tied on the basket.
On to the onesie. My friend had picked out a super cute Easter image for the onesie. I purchased this image from Apex Embroidery and cut it out of Heat Transfer Vinyl. Using my heat press, I pressed it onto the onesie.
My friend was extremely happy with both the basket and the onesie!! That sure makes a girl feel good!
Thanks for stopping by! Have a crafty day ~ Deb


